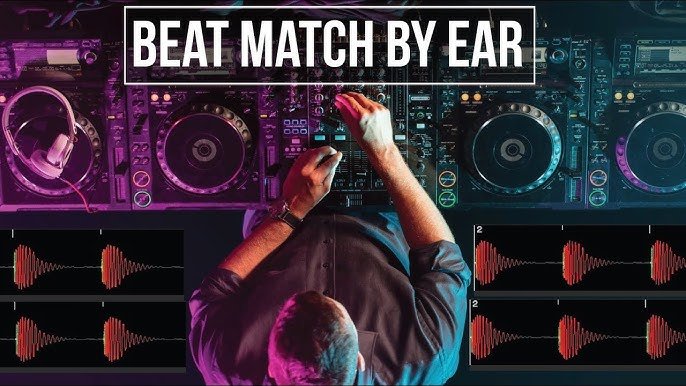
Beatmatching is one of the foundational skills every aspiring DJ must master. It’s the art of aligning two tracks’ tempos and beats so they play in perfect sync, creating smooth transitions and cohesive mixes. While modern DJ equipment offers features like sync buttons, learning to beatmatch manually will give you a deeper understanding of rhythm, tempo, and control over your mix. Here’s a comprehensive guide to help you get started with beatmatching.
1. What is Beatmatching?
Beatmatching is the process of aligning the beats of two tracks to ensure they play at the same tempo and time. This skill allows DJs to create seamless transitions between songs, maintain energy on the dance floor, and keep the audience engaged.
The key components of beatmatching include:
- Tempo Matching: Adjusting the speed (BPM) of one track to match the other.
- Phase Alignment: Ensuring the beats of both tracks start simultaneously.
2. Essential Equipment for Beatmatching
To start beatmatching, you’ll need the right gear. Here’s a list of essential equipment:
- DJ Controllers or Turntables: These allow you to control the playback and tempo of your tracks.
- DJ Mixer: Enables you to adjust levels and EQ while transitioning between tracks.
- Headphones: High-quality headphones are crucial for pre-listening and aligning beats accurately.
- Tracks with Clear Beats: Choose songs with a consistent rhythm and clear drum patterns when practicing.
3. Step-by-Step Guide to Beatmatching
Follow these steps to start beatmatching:
Step 1: Understand BPM
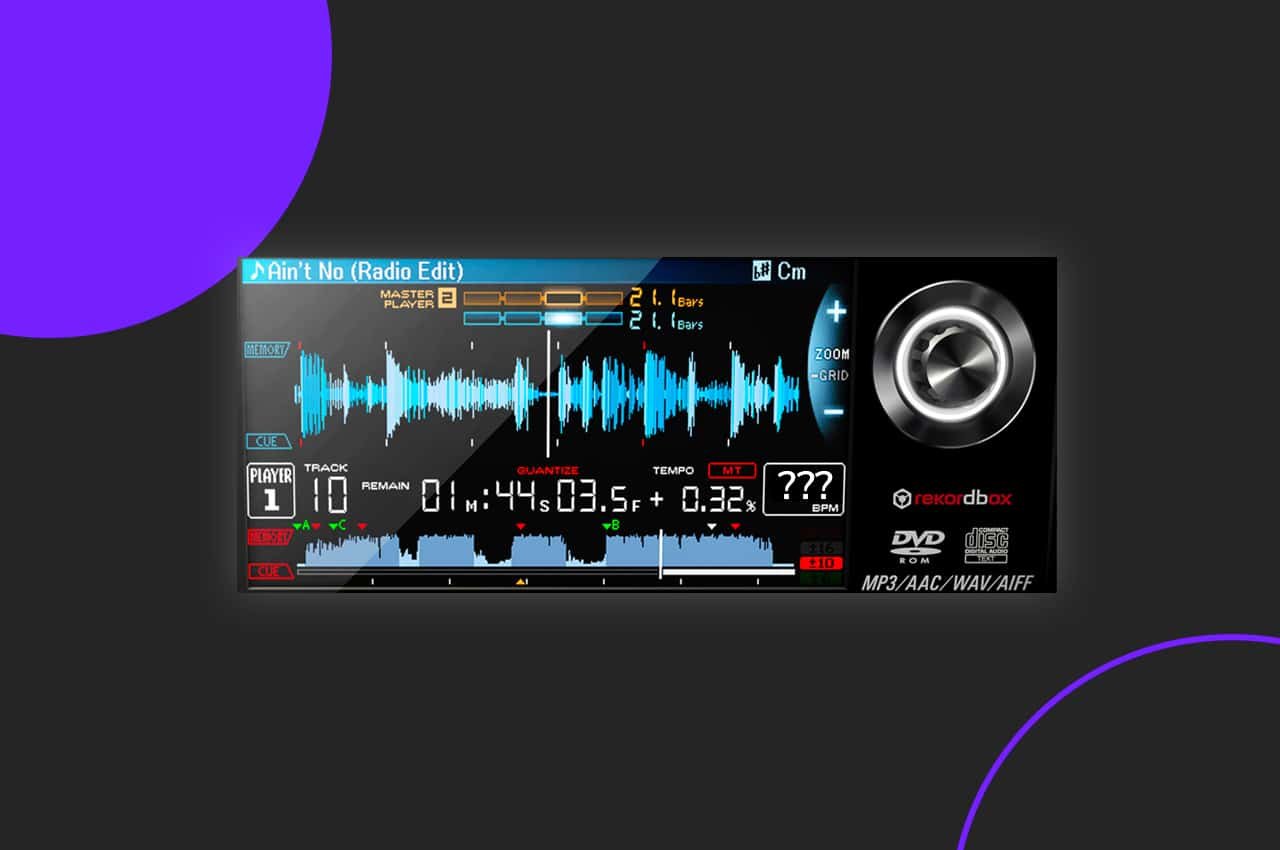
BPM (beats per minute) measures a track’s tempo. Knowing the BPM of your tracks is the first step in beatmatching. Most DJ software or controllers display BPM, but if you’re using vinyl, you’ll have to rely on your ear to determine the tempo.
Step 2: Cue the Incoming Track
Use your headphones to pre-listen to the track you want to mix in (the incoming track). Focus on finding the first beat or downbeat of a phrase, as this is where you’ll align the two tracks.
Step 3: Adjust the Tempo
Use the pitch fader on your controller or turntable to match the tempo of the incoming track to the one currently playing. Adjust until the BPMs are identical.
Step 4: Align the Beats
Once the tempos match, align the beats by nudging the jog wheel, turntable, or pitch bend buttons. This step ensures the kick drums or other percussive elements of both tracks hit simultaneously.
Step 5: Fine-Tune During Playback
As the tracks play together, they may drift out of sync due to minor tempo differences. Use gentle nudges or pitch adjustments to keep them aligned.

Step 6: Practice Phrasing
Phrasing refers to aligning the structure of two tracks, such as verses, choruses, or drops. Mixing at the wrong point can sound disjointed, so practice counting beats and bars to ensure smooth transitions.
4. Tips for Mastering Beatmatching
Tip 1: Practice with Simple Tracks
Start with tracks that have a consistent beat and clear drum patterns. Avoid tracks with complex rhythms or irregular time signatures until you’ve mastered the basics.
Tip 2: Use Your Ears
While visual BPM counters can be helpful, rely on your ears for precision. Listen for when the beats drift apart and make real-time adjustments.
Tip 3: Start with the Kick Drum
Focus on aligning the kick drums (the low thump in most tracks). It’s the most prominent element in the beat and serves as your anchor for syncing.
Tip 4: Control Your Movements
Be gentle when nudging the jog wheel or adjusting the pitch fader. Overcorrection can throw your tracks further out of sync.
Tip 5: Work on Your Timing
Timing is everything in beatmatching. Practice transitioning at the start of a new phrase or during breakdowns to make your mixes sound more natural.
5. Common Beatmatching Mistakes and How to Avoid Them
Mistake 1: Ignoring Phrasing
Mixing two tracks without considering their structure can lead to awkward transitions. Always align your mixes with the natural progression of the music.
Mistake 2: Overusing the Sync Button
While the sync button is convenient, relying on it can hinder your ability to beatmatch manually. Practice manual beatmatching to develop your skills.
Mistake 3: Skipping the Basics
Rushing to mix complex tracks without mastering the fundamentals can be frustrating. Start with simple beats and progress gradually.
6. Why Manual Beatmatching Matters
With the advent of digital DJing tools, some question whether manual beatmatching is still necessary. Here’s why it’s worth learning:
- Better Control: Manual beatmatching gives you precise control over your mixes.
- Deeper Understanding: It enhances your knowledge of rhythm, tempo, and track structure.
- Professional Credibility: Being able to beatmatch manually sets you apart as a skilled and versatile DJ.
7. Practice Makes Perfect
Mastering beatmatching takes time and consistent practice. Set aside dedicated sessions to focus on:
- Adjusting tempo and phase alignment.
- Listening to subtle differences in beat timing.
- Experimenting with different genres and BPM ranges.
Conclusion
Beatmatching is a cornerstone skill that forms the foundation of DJing. While it may seem challenging at first, mastering the basics will unlock your potential as a DJ and give you the tools to create seamless, professional-sounding mixes. With the right equipment, a solid understanding of BPM, and plenty of practice, you’ll be beatmatching like a pro in no time. So grab your headphones, fire up your decks, and start honing your craft today!


